What is Precision in Metal Machining?
In metal machining, precision refers to how consistently a machine can reproduce the same dimension or result over repeated operations under the same conditions. It reflects the system’s ability to limit variation and maintain output stability, regardless of whether the results match the design target. High precision means the results are closely grouped from part to part — a measure of repeatability in the machining process.
Several technical factors influence machining precision. These include tool positioning repeatability, thermal stability during continuous operation, machine structural rigidity, spindle and axis control consistency, and fixture repeatability. When these variables are well controlled, the machining process can deliver uniform results across batches, which is essential for scalable and predictable production.
Precision is commonly evaluated using statistical methods such as standard deviation, process capability indices (Cp, Cpk), and geometric tolerance analysis. In manufacturing, strong precision provides the foundation for consistent quality, even before any discussion of target alignment or dimensional correctness begins.
What is Accuracy in Metal Machining?
Accuracy in metal machining refers to how close a machined part’s measurement is to its intended target or design value. It reflects the correctness of the outcome — whether the result aligns with the blueprint, CAD model, or dimensional specification provided by the engineer or designer.
In practice, accuracy tells us: did the part turn out as expected? A part with high accuracy will have measurements that fall close to the nominal value, even if the results vary slightly from one piece to another. For example, if the target dimension is 20.00 mm and the machined part measures 20.01 mm or 19.99 mm, the result is considered accurate within standard tolerance limits.
Accuracy is affected by factors such as machine calibration, tool offset errors, temperature-induced dimensional drift, and control system deviations. Even small issues in machine setup or tool wear can introduce bias, causing every part to shift consistently in one direction — a classic sign of low accuracy.
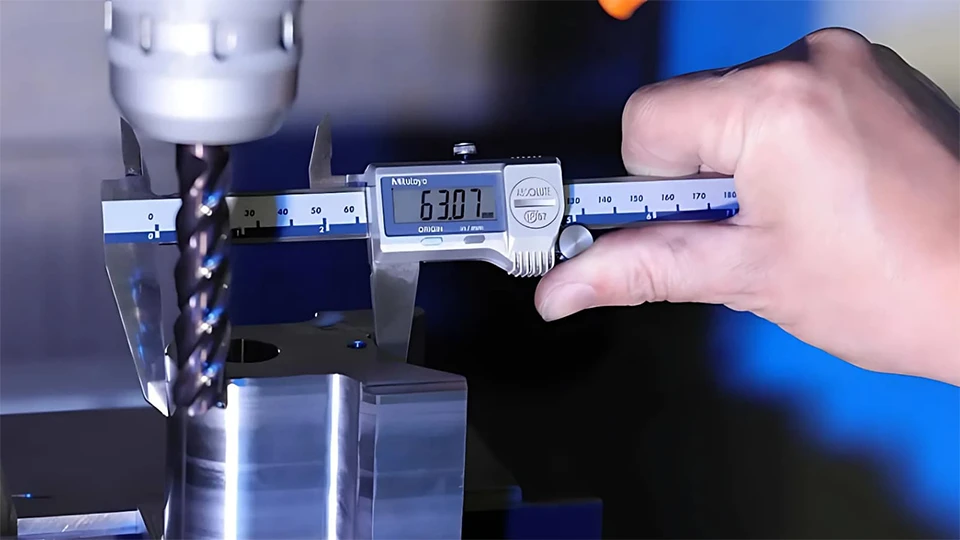
In machining operations, accuracy is typically verified through inspection processes such as coordinate measuring machines (CMM), calipers, laser scanners, or gauges. Tolerances set the allowable range for accuracy, ensuring that a part still functions as intended even with minor deviations.
Ultimately, understanding accuracy allows manufacturers to deliver parts that meet design specifications — which is crucial for interchangeability, mechanical fit, and regulatory compliance in industries like aerospace, automotive, and medical.
Key Differences Between Precision and Accuracy
Precision and accuracy are often confused in metal machining, but they describe two fundamentally different qualities of a manufacturing process. Precision is about repeatability — how consistently a process can reproduce the same result. Accuracy is about deviation — how close that result is to the intended design value.
A process can be:
- Precise but not accurate: consistently wrong
- Accurate but not precise: occasionally right
- Both precise and accurate: ideal case
- Neither precise nor accurate: high variability and off-target
| Aspect | Precision | Accuracy |
|---|---|---|
| Definition | Consistency across repeated results | Closeness to the intended target |
| Evaluation Metric | Standard deviation, Cp/Cpk | Deviation from nominal, tolerance bands |
| Visual Pattern | Tight grouping | Centered distribution |
| Typical Cause of Error | Process instability | Calibration or systemic offset |
| Measurement Example | 20.02 mm, 20.03 mm, 20.01 mm | 19.97 mm, 20.03 mm, 20.00 mm |
| Description | Clustered but shifted (high precision, low accuracy) | Scattered but centered (low precision, high accuracy) |
Precision and accuracy are not interchangeable. In machining, achieving both is critical — especially for high-spec applications where tight tolerances and consistent quality are mandatory. Understanding which one is lacking allows engineers to diagnose root causes faster and improve quality at the source.
Real-World Examples in Metal Machining
Precision and accuracy are not just abstract concepts — they appear clearly in real-world machining environments. Below are four typical scenarios, each illustrating a different combination of precision and accuracy in action.
Case 1: High Precision / Low Accuracy
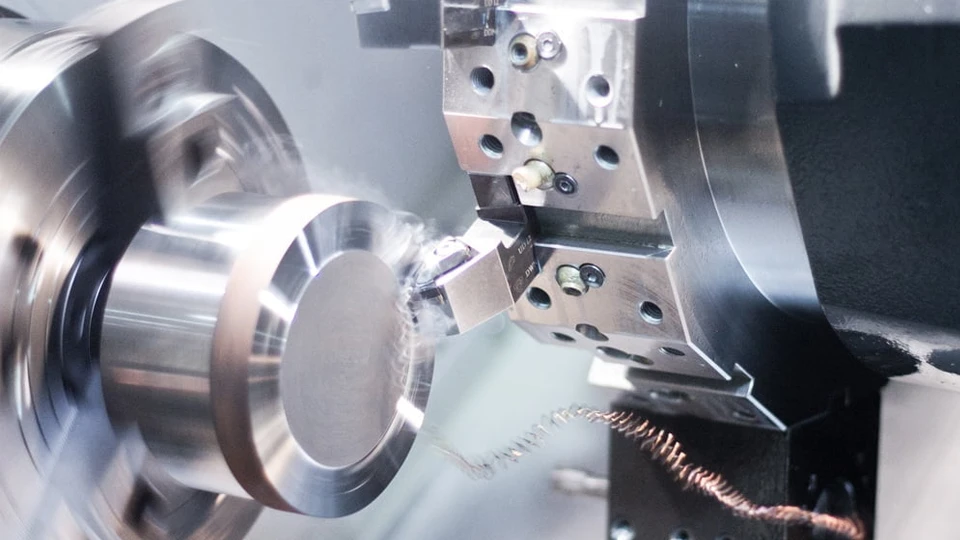
A CNC lathe consistently machines shaft diameters of 20.02 mm, 20.03 mm, and 20.02 mm — while the nominal design value is 20.00 mm. All results are tightly grouped, indicating high precision, but consistently off the target, showing poor accuracy.
This issue is often caused by uncorrected tool offset errors, miscalibrated sensors, or improper coordinate zeroing. While the machine itself performs with repeatable consistency, it introduces a systematic deviation that can go unnoticed unless a proper calibration check is performed.
The risk here is significant: even though the parts appear uniform, they are out-of-spec. In mass production, such deviation can lead to large batches of defective components and costly rework if not detected early.
Case 2: High Accuracy / Low Precision
In a manual setup using semi-automatic equipment, an operator machines five parts with measured diameters of 19.97 mm, 20.03 mm, 20.00 mm, 19.96 mm, and 20.04 mm. The average is close to 20.00 mm, indicating good accuracy, but the results vary significantly — a sign of poor precision.
This type of performance usually stems from inconsistent clamping, tool vibration, thermal fluctuation, or operator variability. Each part may individually be within tolerance, but the lack of process control leads to unstable repeatability.
Low precision poses risks to assembly fit, product interchangeability, and downstream automation, even if individual parts pass inspection.
Case 3: High Precision / High Accuracy
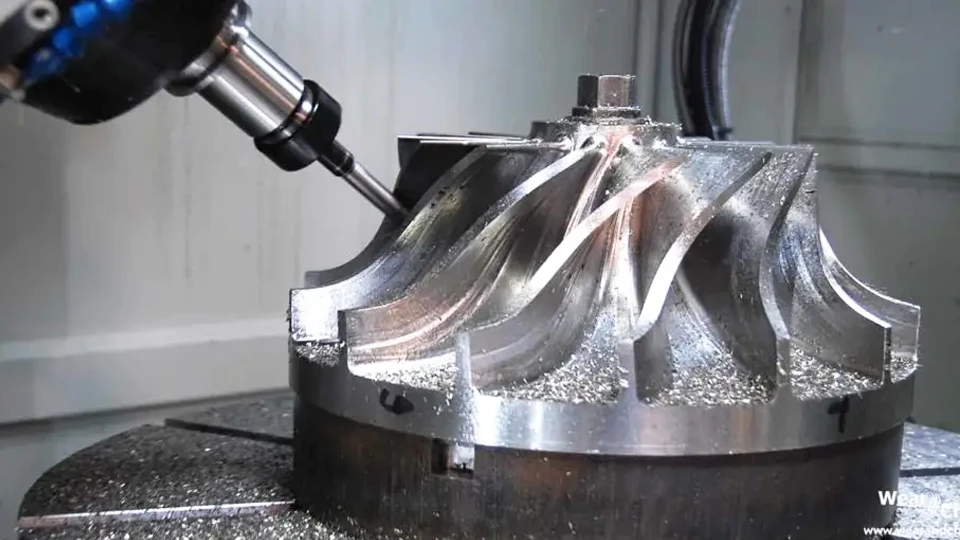
In an aerospace machining facility, a 5-axis machining center is used to produce titanium brackets. Measured results show values such as 20.00 mm, 19.99 mm, 20.01 mm, and 20.00 mm — all tightly clustered around the nominal value.
This outcome reflects both excellent accuracy and precision. It is typically achieved through:
- Rigid machine structure
- Accurate tool calibration
- Closed-loop feedback systems
- Thermal compensation
- Controlled workshop conditions
This state is the gold standard in advanced manufacturing — combining process capability with quality assurance to deliver tight-tolerance components consistently.
Case 4: Low Precision / Low Accuracy
A general-purpose lathe running without recent maintenance machines parts with measurements like 19.85 mm, 20.12 mm, 19.89 mm, 20.10 mm, and 19.87 mm. The values are both scattered (low precision) and far from the nominal target (low accuracy).
This situation is often caused by:
- Worn machine components
- Temperature-induced dimensional drift
- Loose fixturing or vibration
- Uncalibrated tooling
- Operator inconsistency
This is the most common — and most dangerous — combination in real-world shops. It leads to high scrap rates, unpredictable product quality, and elevated rework costs.
Measurement Tools and Methods Used
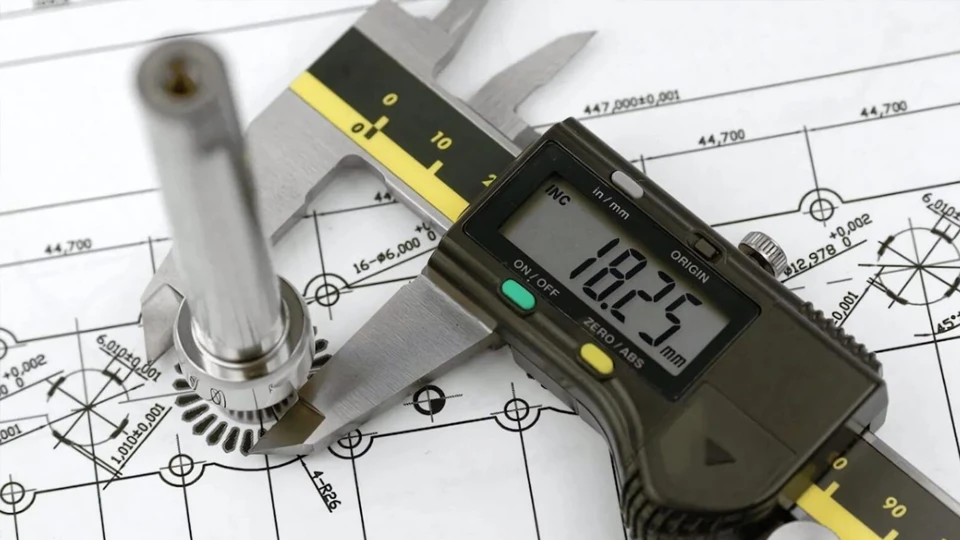
Precision and accuracy cannot be improved unless they are properly measured. In metal machining, engineers rely on a range of inspection tools and statistical methods to evaluate these two qualities — often separately, because they represent different aspects of dimensional performance.
Measuring Precision (Repeatability)
Precision is evaluated by checking how closely grouped repeated measurements are under the same conditions. The goal is to assess the spread or scatter in the data, regardless of how close it is to the nominal value.
Common Methods:
- Repeat Measurement with Calipers or Micrometers
Perform multiple measurements on the same feature using a high-resolution tool to observe dimensional spread. - Use of Coordinate Measuring Machines (CMMs)
Automated CMMs provide repeatable, high-resolution data from multiple parts, ideal for statistical analysis. - Statistical Process Control (SPC)
Collect measurement data from production runs and plot it on control charts to evaluate variation trends over time.
Key Metrics:
- Standard Deviation (σ)
A lower standard deviation means better repeatability. - Process Capability Indices (Cp, Cpk)
Cp evaluates precision (process spread vs. tolerance); Cpk combines both precision and accuracy but is still useful for repeatability checks. - Gauge Repeatability and Reproducibility (Gauge R&R)
Assesses whether the variation is caused by the measuring system itself or the process.
These methods are essential in high-volume manufacturing, where process consistency determines product conformity.
Measuring Accuracy (Deviation from Target)
Accuracy is determined by comparing measured results to the true or intended value. The focus is not on spread, but on how far results are from where they should be.
Common Methods:
- Use of Master Gauges or Certified Reference Blocks
Measure a standard known part and compare results to its certified dimension to evaluate machine or tool accuracy. - Laser Interferometry or Ballbar Testing
High-precision diagnostic tools that check the accuracy of motion systems (axis travel, circularity, backlash). - Calibration Against Nominal Dimensions
After machining, compare the actual size of a feature to its CAD nominal. Any deviation is quantified as error. - Probe-Based In-Process Measurement
Touch probes can be used to measure features in real time and correct tool offsets if needed.
Key Metrics:
- Mean Deviation (μ – Target)
The average difference between measured values and the nominal. - Maximum Error
Largest single deviation from target — often used in tolerance qualification. - Bias
A systematic, directional error that persists across all measurements.
Accuracy measurements are often used in setup validation, first-article inspection, and calibration procedures, ensuring the machining process is aligned with design intent.
| Aspect | Precision | Accuracy |
|---|---|---|
| What it Measures | Variation among repeated results | Deviation from the true value |
| Main Tools | CMM, micrometer, SPC charts | Reference blocks, laser interferometer |
| Key Metrics | Std. deviation, Cp/Cpk, R&R | Mean deviation, Max error, Bias |
| When Used | Process control, repeatability checks | Setup validation, calibration, QA |
Understanding how to measure both aspects accurately is the first step to controlling them. Without proper measurement, precision and accuracy become assumptions — and assumptions cost money.
How to Improve Precision and Accuracy Separately
Improving a machining process starts with identifying whether the issue lies in precision, accuracy, or both. Although these two qualities often go hand in hand in successful operations, their technical root causes — and therefore their solutions — are fundamentally different.
Improving Precision (Repeatability)
Precision problems are all about variation between runs. If the parts you machine are inconsistent in size or geometry, even when using the same program, tool, and setup, then you’re facing a precision issue.
Common methods to improve machining precision include:
- Increase structural rigidity
Use machines with a stiffer frame, tighter guideways, and more stable spindle systems. Flexing or vibration during cutting causes variability. - Control thermal expansion
Temperature changes during long machining cycles lead to drift. Use thermal compensation features or machine in a controlled environment. - Use high-quality fixturing and clamping
Inconsistent part holding introduces micro-variations. Precision-grade vises, jigs, or zero-point fixtures greatly reduce this. - Minimize tool wear variation
Regular tool changes or tool condition monitoring (TCM) helps prevent dimensional fluctuation due to progressive wear. - Reduce backlash and axis play
Keep servo motors and ball screws in good condition; mechanical play introduces unpredictable positioning errors. - Repeatability calibration routines
Modern CNCs often support built-in precision tests that help detect and correct internal variation over time.
The goal is simple: reduce random noise in the process. In high-volume production, consistent repeatability leads to predictable throughput and fewer rejects.
Improving Accuracy (Correctness)
Accuracy issues arise when your results are consistently off-target, even if they’re tightly grouped. In this case, you’re dealing with systematic error, and the solution lies in correction and alignment.
Key ways to improve machining accuracy include:
- Tool and workpiece calibration
Re-zero the machine, calibrate tool lengths and diameters, and verify work offsets. A small reference error can cause large deviations. - Update machine control parameters
Use laser calibration or ballbar testing to fine-tune servo settings, backlash compensation, and encoder alignment. - Use probing systems
Touch probes (for tools and parts) allow machines to adjust automatically for setup or material deviation before cutting begins. - Check and correct thermal drift
Even accurate machines become inaccurate if thermal changes aren’t compensated. Enable automatic temperature mapping when available. - Align fixturing with coordinate system
Misaligned fixtures or vises cause skewed results. Ensure setup is square to the machine axes and probe for rotational offsets. - Use master parts or reference blocks
Periodically measure known standards to ensure your machine’s dimensional output matches expected reality.
Accuracy improvement is all about eliminating bias — making sure the machine cuts exactly where it’s supposed to.
Don’t Confuse the Two
Precision fixes aim to tighten the spread; accuracy fixes aim to center the results.
An imprecise process can still produce “correct” parts occasionally — but not reliably. An inaccurate process may be very stable, but everything it produces will be off-spec unless corrected.
That’s why in process optimization, it’s critical to measure both aspects independently and target improvements accordingly.
Conclusion: Precision vs Accuracy
In metal machining, the difference between precision and accuracy isn’t just a matter of definitions — it’s a matter of performance, quality, and cost. Understanding this distinction helps engineers avoid misdiagnosis, improve process control, and ultimately deliver parts that meet both dimensional consistency and design intent. Precision ensures parts are uniform; accuracy ensures they are correct. Only by mastering both can manufacturers build trust, reduce waste, and achieve repeatable excellence on the shop floor.
Behind every reliable machining outcome is a machine built for dimensional control, thermal stability, and long-term repeatability. Brands that embed these principles into their design and manufacturing processes stand out in high-demand industrial environments. Rosnok, as a manufacturer of CNC lathes and machining centers, incorporates this approach by engineering machines around real-world production variables — ensuring that both precision and accuracy are not just achievable, but sustainable over time.
