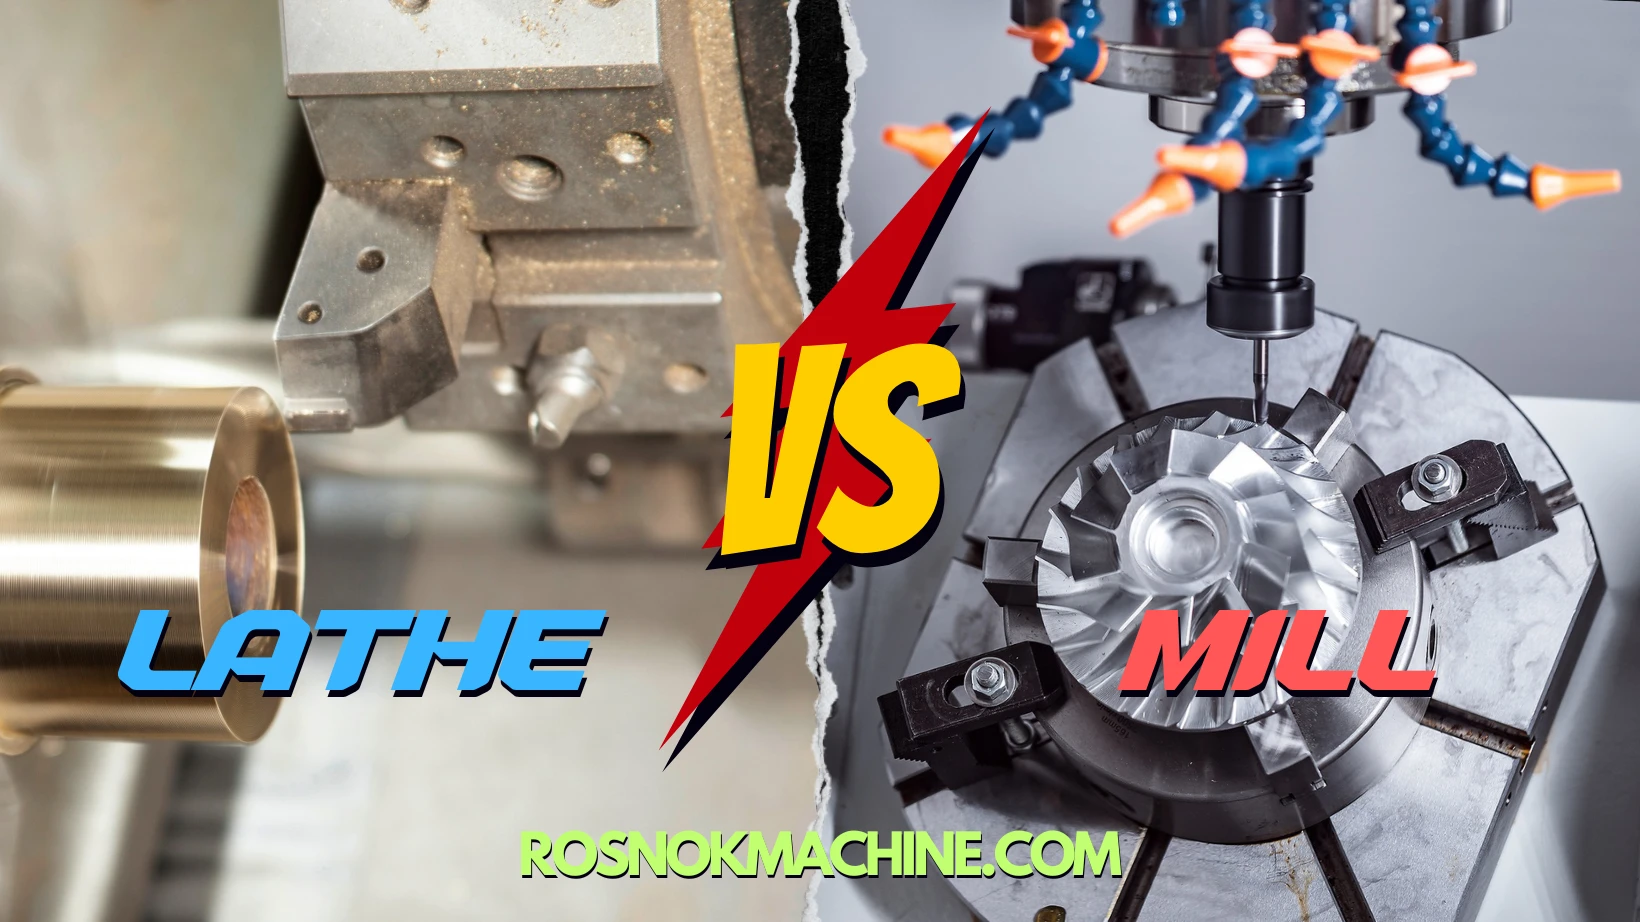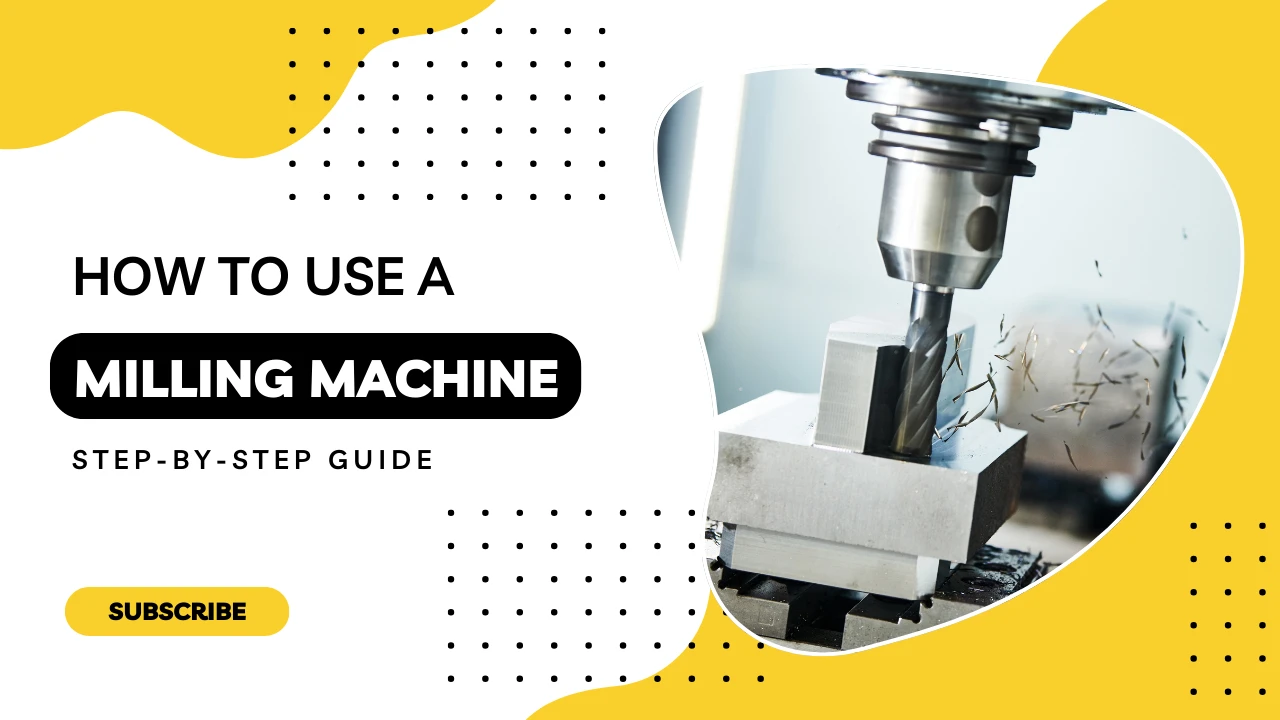
Step-by-Step Guide: How to Use a Milling Machine
Milling is one of the most versatile and widely used machining methods in metalworking. Whether you’re shaping flat surfaces, drilling holes, or cutting complex contours, knowing how to use a milling machine correctly ensures safety, efficiency, and precision. Below is a complete step-by-step guide for using a manual or semi-automatic milling machine in a typical workshop setting.
① Prepare the Machine
Before beginning any milling operation, preparation is key. Start by inspecting the milling machine’s overall condition—check that all guards, handles, and electrical systems are intact. Ensure that the lubrication system is functioning properly and refill oil reservoirs if needed.
Next, clean the machine table and surrounding area to remove any chips, dust, or coolant residue from previous operations. This ensures proper seating of your workpiece and prevents misalignment.
Select the appropriate vise, fixture, or clamping tool depending on the workpiece geometry. Make sure the clamping mechanism does not interfere with the cutter path. Always use parallels or packing under the workpiece to maintain flatness and rigidity.
② Mount the Workpiece Securely
Once the table is clean and your work-holding device is selected, it’s time to mount the workpiece. Center the workpiece under the spindle using an edge finder or dial indicator, especially if precision is required.
Tighten all clamps evenly to avoid vibration during cutting. For irregular-shaped or tall parts, consider using step blocks, T-slot bolts, or custom fixtures to maintain proper orientation and safety.
Use a rubber mallet to gently tap the workpiece into position if needed, and double-check flatness before proceeding.
③ Select and Install the Tool
Select a milling cutter based on your operation: face milling, end milling, slotting, or contouring. Consider the material of the workpiece when choosing the cutter type—HSS for general purpose, carbide for hardened metals, or coated tools for improved wear resistance.
Clean the tool holder before mounting the cutter. Insert the tool into the collet or arbor, and tighten it securely using the spindle lock and wrench. Make sure there’s no play or runout, which can affect surface finish and dimensional accuracy.

④ Set Spindle Speed and Feed Rate
Refer to the material chart to determine proper spindle speed (RPM) and feed rate (mm/rev or mm/min). For example, aluminum generally requires higher spindle speeds, while hardened steel demands slower speeds but higher torque.
On a manual machine, you’ll adjust speed using pulleys, gearboxes, or digital readouts. Set the feed rate according to cutter diameter, material hardness, and desired finish. Inexperienced users should start conservatively to avoid tool breakage or poor results.
⑤ Align the Workpiece and Zero Axes
Before starting, it’s essential to align the machine’s coordinate system with the workpiece. Use edge finders or a dial indicator to locate the part’s reference edges.
Zero the X, Y, and Z axes on the digital readout (DRO) or mark manual dials accordingly. This will ensure your milling paths begin from a known origin, improving repeatability and part accuracy.
⑥ Perform Trial Run / Dry Run
Never jump into cutting without testing the setup. Perform a dry run or trial pass above the surface of the workpiece to check toolpath clearance, movement limits, and spindle direction.
Watch for any potential collisions or clamping interferences. This step is especially important if the workpiece is expensive or if you’re using a new setup.
⑦ Begin Milling Operation
Start the spindle and engage the feed. If your machine has manual feed wheels, control the movement gradually and consistently. For feed motors, monitor load indicators or listen for spindle strain.
Make light cuts on the first pass and gradually increase depth if the machine and setup allow. For slotting or deep-pocket operations, use pecking motions to prevent chip build-up.
Always stand clear of the rotating cutter and avoid reaching near the tool during operation. Stay focused and do not leave the machine unattended.
⑧ Finish, Clean and Inspect
After completing the operation, retract the tool and turn off the spindle. Remove the workpiece carefully and deburr the edges.
Use a micrometer, caliper, or gauge block to inspect dimensional accuracy. Look for burrs, tool marks, or finish issues.
Finally, clean the machine thoroughly. Remove chips, wipe down the surfaces, and lubricate moving parts if required. Proper shutdown extends the lifespan of your equipment and ensures readiness for the next job.

Operating a CNC Milling Machine: Additional Steps You Should Know
While many steps in operating a CNC milling machine are similar to manual milling—like securing the workpiece and selecting the right tool—CNC machining introduces additional layers of precision, automation, and control that require a different approach. This section focuses on the extra procedures and setup steps unique to CNC milling machines that were not covered in the previous manual operation guide.
CNC Control Panel Familiarization
Before starting, the operator must be familiar with the CNC control panel interface. Most modern CNC milling machines are equipped with systems such as Fanuc, Siemens, or Mitsubishi. Each has its own layout, but they share common functions: manual jog control, cycle start/stop, spindle override, feed override, alarm reset, emergency stop, and coordinate display.
Operators should know how to navigate menus, input commands, and switch between manual and auto modes. Understanding M-codes and G-codes is also essential, even when using CAM-generated programs, so that you can diagnose or adjust operations on the fly.
Loading and Running G-code Programs
Unlike manual machines, CNC milling relies on G-code to execute tool movements. You can load the program via USB, Ethernet, or through direct NC input (DNC). The G-code controls every step: tool changes, axis movement, spindle speed, coolant control, and even alarms.
Once the program is loaded, it’s critical to preview the toolpath. Many systems offer graphical simulation to detect over-travel, collisions, or missed zero points. Make sure the program is targeted to the correct work coordinate system (e.g., G54, G55), otherwise the machine might run outside the intended area.
Tool Offset and Work Coordinate Setting (G54, G55…)
CNC machines require accurate tool offset (length and diameter) and workpiece zero-point settings. Tool length offset compensates for variations in tool height, while diameter offset helps control contour paths, especially in side milling.
Set these using a tool setter (automatic or manual). For work offsets, use edge finders or touch probes to zero the X, Y, and Z axes on the actual part surface. Be sure to store each offset in the correct register, such as G54 for one part, G55 for another.
Failing to properly configure these values can lead to scrap parts or even machine crashes.
Simulation and Dry Run in CNC Environment
Even with a correct program and offsets, it’s best practice to run a dry run first. Most CNC controllers allow you to simulate the entire program with the spindle off and rapid moves slowed down.
Activate single block mode to step through each line of code. Watch axis movement, toolpath behavior, and Z-clearance. This is your last chance to spot a mistake before actual cutting begins.
Dry runs are essential when:
- Using a new fixture or part
- Modifying a proven program
- Cutting an expensive or complex workpiece
Handling Alarms, Interrupts, and Emergency Stops
CNC machines are equipped with diagnostic systems that raise alarms when something goes wrong: spindle overload, axis overtravel, tool change failure, or coolant system errors.
When an alarm is triggered:
- Read the alarm code on the screen.
- Check the machine’s status lights.
- Reset the alarm only after understanding the cause.
If an unsafe condition occurs—like a tool crash or unexpected rapid movement—press the emergency stop immediately. After that, inspect the machine, reposition the tool if needed, and re-zero all axes before restarting the program.
Never ignore small issues, as they can escalate into serious problems.
Optional: DNC and Networked Operation for Mass Production
For high-volume machining, many factories connect their CNC machines to a central computer system using DNC (Direct Numerical Control). This allows operators to stream programs directly to the machine, manage multiple setups, and reduce file transfer errors.
DNC systems also support revision control and backup, which is critical for quality assurance in industries like aerospace and automotive. If your shop runs similar parts regularly, consider integrating DNC or even networked tool management systems.

Safety Tips When Operating a Milling Machine
Safety is always the top priority in any machining environment. While milling machines are powerful and precise, they also involve sharp tools, rotating components, and high-speed movements—all of which can be dangerous if not handled properly. Whether you are working on a manual or CNC milling machine, following essential safety practices can prevent accidents, reduce downtime, and protect both operators and equipment.
PPE Requirements
Before touching the machine, make sure you are properly equipped. Personal Protective Equipment (PPE) is mandatory in any workshop environment.
- Always wear safety glasses or a face shield to protect your eyes from flying chips and coolant splashes.
- Use hearing protection if working in a noisy environment or when multiple machines are running.
- Wear steel-toe boots to protect your feet from falling objects or heavy parts.
- Avoid loose clothing, gloves, jewelry, or long hair near moving parts. These can get caught in the spindle or tooling.
A clean uniform or workshop apron that fits snugly is best. Gloves should only be used when handling raw materials, not during machine operation.
Machine Guarding and Emergency Stop
Never operate a milling machine with its safety guards removed or disabled. Guarding protects you from rotating cutters, flying debris, and entanglement hazards.
Make sure:
- Chip shields or full enclosures are installed and properly positioned.
- Emergency stop buttons are functional and within easy reach.
- Spindle covers and motor guards are secure.
Familiarize yourself with the location of all emergency stop buttons, power switches, and lock-out procedures. If the machine behaves unexpectedly, do not hesitate to stop it immediately.
On CNC machines, check that doors and interlocks are functioning correctly, especially before running automatic cycles.
Chip Control and Coolant Safety
Milling generates large amounts of metal chips, which can be sharp and hot. Managing chip flow is essential not just for cleanliness but also for safety.
- Use chip brushes or vacuums to remove chips—never use your hands.
- Avoid compressed air to blow off chips unless it’s approved in your shop, and always wear eye protection.
- Keep coolant systems clean and well-maintained to avoid bacterial growth or chemical skin reactions.
- When working with flood coolant, check for leaks that can cause slips or electrical hazards.
If your milling machine has an automatic chip conveyor, keep it clean and do not reach inside while it’s running.
Common Hazards and How to Avoid Them
Several hazards can occur during milling operations. Being aware of them helps reduce risk significantly.
- Tool breakage: Use the correct speed, feed, and depth of cut. Never push the machine beyond its limits.
- Workpiece shifting: Ensure the part is clamped securely. Recheck after roughing operations.
- Overtravel or crashing: Always double-check toolpaths, especially on CNC machines.
- Electric shock: Avoid working on live panels or coolant systems without proper training.
Always keep your hands clear of the cutter and moving axes. Use handwheels and jog controls carefully, especially near end stops or mechanical limits.
Training is just as important as hardware. Ensure that all operators are trained not only in machine operation but also in emergency procedures and first aid.

Common Mistakes and How to Avoid Them
Even experienced machinists can occasionally make mistakes that lead to wasted material, broken tools, or even machine damage. Understanding the most frequent errors in milling operations—and how to prevent them—can significantly improve efficiency, reduce rework, and protect your investment in equipment and tooling.
Using Wrong Tool or Speed
One of the most common issues is selecting an inappropriate cutting tool or applying incorrect speeds and feeds.
- Using a tool with the wrong geometry for the material can result in poor finish or chatter.
- Operating at too high a spindle speed can overheat the tool and cause premature wear or breakage.
- Running too slow can produce built-up edges, especially in soft materials like aluminum.
Always refer to cutting data charts provided by the tool manufacturer. If unsure, start with conservative values and adjust based on tool performance, material hardness, and desired finish. Use coated or carbide tools for tougher materials, and ensure tools are sharp and properly mounted.
Incorrect Clamping
Insecure or uneven clamping can cause the workpiece to shift during cutting, leading to dimensional inaccuracy or surface defects. In severe cases, it can even eject the workpiece from the table.
- Always use proper fixtures, vises, and clamps suited to the part shape and size.
- Avoid over-tightening one side while leaving the other loose—it can warp the part or damage the tool.
- Use parallels or spacer blocks to ensure the part is evenly supported.
Check the clamping setup before each pass, especially during rough milling where forces are higher. Re-tighten if necessary.
Overcutting or Undercutting
Dimensional errors caused by improper offsets, tool length compensation, or operator misjudgment are common, especially in complex parts.
- Overcutting occurs when the cutter removes more material than intended, often due to incorrect zero points or programming errors.
- Undercutting may result from tool deflection, worn-out cutters, or misaligned axes.
Prevent this by always zeroing the machine properly, verifying your tool offsets, and using proper finishing passes after roughing. For precision parts, measure between each step to verify progress.
On CNC machines, simulate the entire program using dry run or graphic preview. Always review the G-code and verify offsets before pressing cycle start.
Poor Chip Removal or Coolant Misuse
Failing to remove chips effectively can cause tool breakage, bad surface finish, and even jamming of axis movement. Similarly, using coolant incorrectly can lead to overheating or corrosion.
- Don’t let chips accumulate around the tool or part. Use chip conveyors, air blast, or coolant flow to clear them.
- Make sure coolant nozzles are positioned correctly and delivering consistent flow to the cutting zone.
- Choose the right coolant type (emulsion, synthetic, or oil-based) depending on the material and tool used.
Regularly clean the chip pan, check coolant concentration, and change filters as part of preventive maintenance.

How to Maintain a Milling Machine
A well-maintained milling machine is safer, more precise, and far more reliable in long-term production environments. Whether you’re running a manual or CNC model, proper maintenance extends machine life, reduces downtime, and ensures consistent output. This chapter outlines daily, weekly, and monthly maintenance practices, along with key checkpoints and troubleshooting strategies.
Daily, Weekly, and Monthly Maintenance
Routine maintenance should be embedded into the operator’s workflow. Creating a simple checklist helps ensure that no task is missed.
Daily tasks:
- Clean the machine after each use—remove chips from the table, tool holders, and enclosure.
- Wipe down exposed surfaces to prevent rust.
- Check lubrication levels and refill if needed.
- Inspect for visible leaks in the hydraulic or coolant systems.
- Verify emergency stop and safety interlocks.
Weekly tasks:
- Test spindle runout and check for unusual vibration or noise.
- Drain and refill coolant tank if contaminated or discolored.
- Clean air filters and mist collectors.
- Check belt tension and pulley alignment.
- Grease linear guides and ball screws (if not auto-lubricated).
Monthly tasks:
- Inspect the condition of tool holders and collets.
- Calibrate DRO (Digital Readout) or CNC axis positioning.
- Check backlash in feed screws and correct if excessive.
- Clean the electrical cabinet and check for loose terminals or damaged wiring.
- Perform a light test cut to verify machine geometry.
Keeping a logbook of maintenance history helps identify recurring issues and can support warranty claims or audits.
Lubrication Points
Improper lubrication is one of the fastest ways to degrade a milling machine. Whether you have a manual grease system or a centralized automatic system, regular oiling is critical.
Key areas include:
- Spindle bearings
- Slideways and dovetails
- Ball screws and nuts
- Guide rails and linear bearings
- Rack and pinion systems (if applicable)
Use manufacturer-recommended lubricants, and avoid mixing different oil types. For CNC machines, monitor the auto-lubrication system to ensure no lines are blocked or empty.
Checking Backlash and Feed Accuracy
Backlash—slack in the movement of the feed screw or nut—can reduce precision, especially when reversing direction. Periodic checks help catch issues before they affect part quality.
To check backlash:
- Mount a dial indicator against the table or saddle.
- Apply light pressure in one axis direction, then reverse.
- Measure the movement lag before the table responds.
Acceptable backlash varies by machine type, but anything above 0.1 mm (0.004”) on precision machines should be corrected.
CNC machines with servo drives may compensate digitally for backlash, but mechanical wear still needs physical correction.
Troubleshooting Common Issues
Even with regular care, problems may still occur. Here are a few common issues and how to address them:
- Excessive vibration or noise: Check for worn bearings, loose belts, or misaligned pulleys.
- Poor surface finish: Inspect tool sharpness, spindle runout, and clamping rigidity.
- Inconsistent dimensions: Verify tool offsets, backlash, and thermal expansion.
- Coolant leaks: Examine hoses, nozzles, and tank seals.
- Axis binding: Look for contamination on linear guides or worn-out slides.
When in doubt, consult the machine’s service manual or reach out to the manufacturer’s technical team. At Rosnok, we provide full after-sales support, including online troubleshooting and spare parts logistics.

Conclusion
Whether you’re working with a traditional manual milling machine or a sophisticated CNC system, the heart of milling lies in creating controlled precision from raw metal. From preparing the workpiece and setting parameters, to ensuring safety and avoiding common errors, each step contributes to a smoother, more consistent machining process. Mastering these steps not only increases efficiency, but also transforms milling into a craft that combines technical control with practical intelligence.
In modern manufacturing, more and more workshops are turning to stable, high-efficiency equipment to carry out these steps with greater speed and reliability. Manufacturers like Rosnok, who specialize in CNC lathes, milling machines, and machining centers, are committed to developing machines that make these operations smoother and more reliable. For users who value durability and performance, selecting the right machine is the foundation for success in every stage of milling.